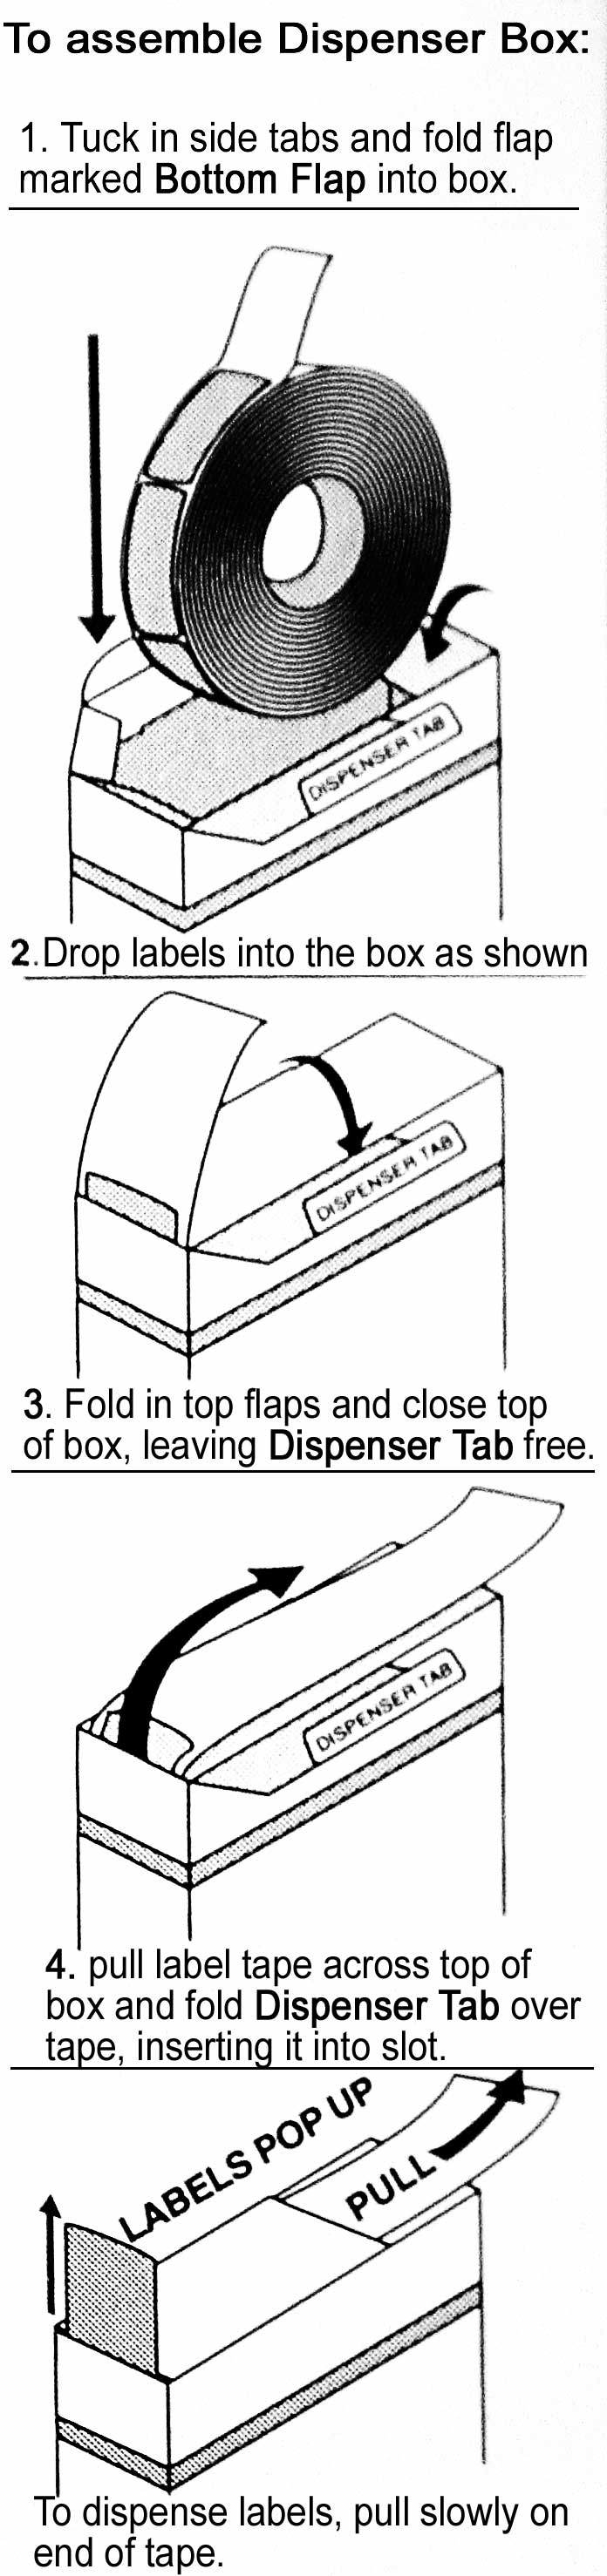
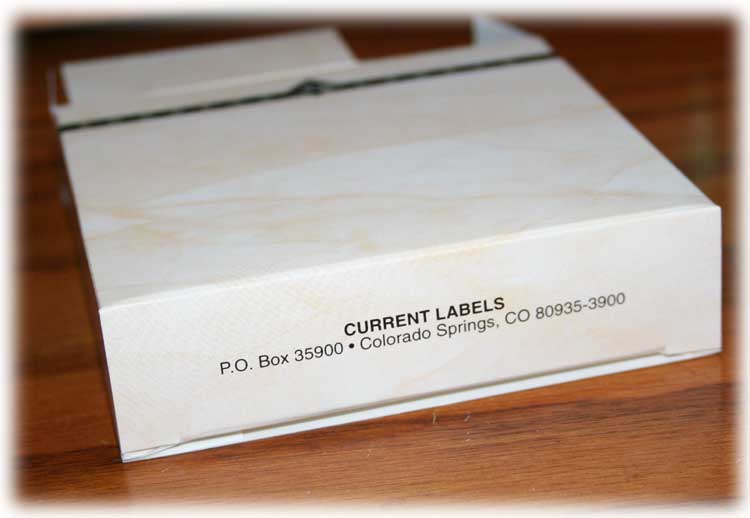
 |
Putting It All Together
Home > Topics > Putting It All Together
Both Current and Affordable Address Labels send their return address labels with cardboard dispensers. These dispensers are pretty nice, except, for me, they were a pain to put together. Even with the directions on the bottom of the dispenser, and with the instructions that came with it, I still had a hard time. I thought to myself that there might be some people who, like me, needed help putting this thing together.
|
STEP 1: Take the flat cardboard dispenser and mold it into a square/box shape. As you can see in the picture, there are directions on the bottom of the despenser - which I've enlarged and placed to the left. You can click on any picture on this page to view larger.
|
|
|
STEP 2: Fold the bottom end into the dispenser. This is the end that does not have the directions on it. It is also marked "Bottom Flap" to also avoid confusion.
|
|
|
Your Address label dispenser should now look like this:
|
|
|
|
STEP 3: Now, fold in the two side flaps. This is getting the cardboard dispenser's top ready to fold down after the labels go in.
|
|
|
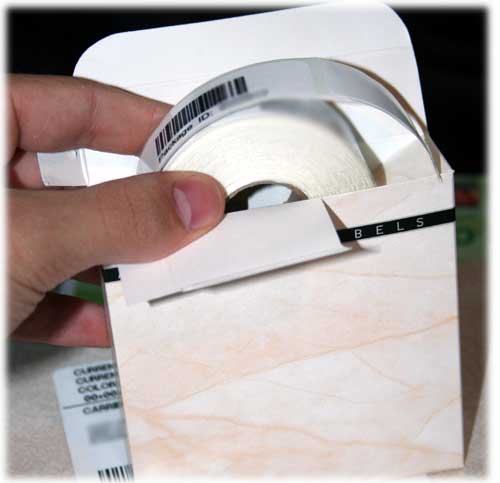
STEP 4: Drop the labels into the dispenser, but make sure the labels are being fed to the left. In other words, you would pull the labels to the left to unwind them.
There is more on the next page -->
|
|
|
|
|
|
|
Navigation

Return Address Label Companies
Affordable Address Labels
Blank Sheet Label Companies
Topics
Address Labels and Stamps, Which is Better?
Putting It All Together
What exactly is a Dymo?
Printing your own labels

Amazon Store
Resources
Compare Head to Head
|